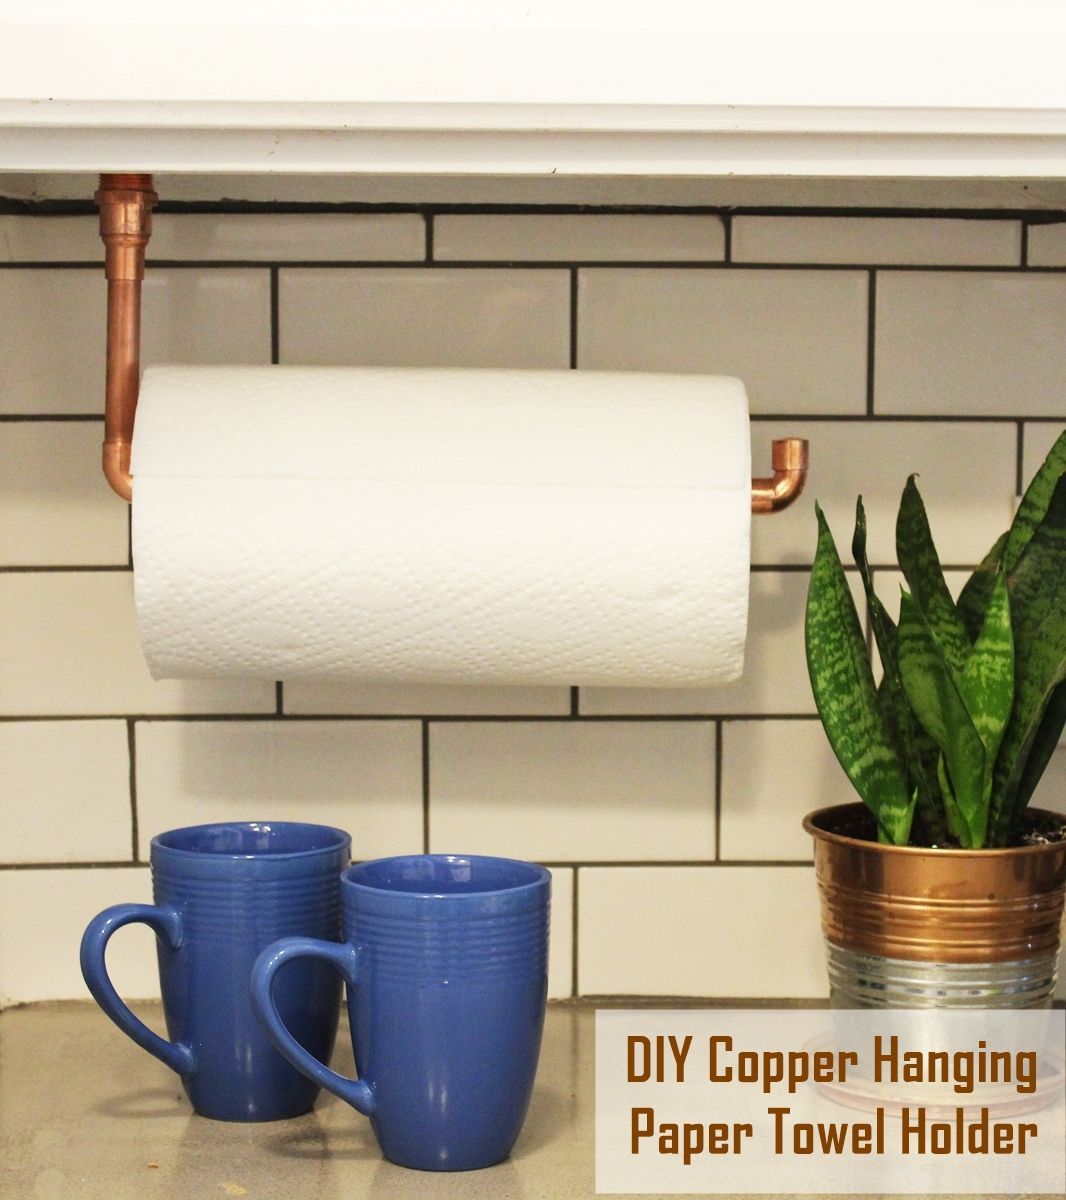
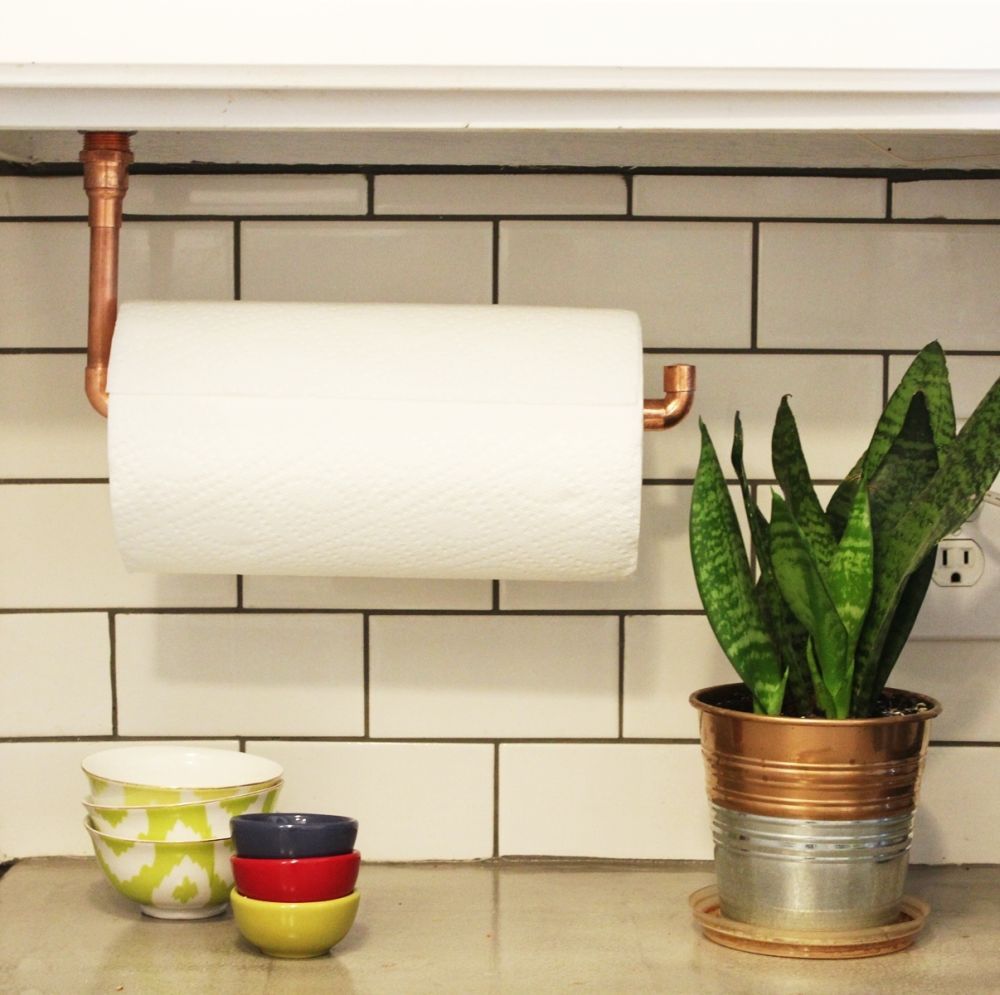
Copper details and accessories are on trend right now in interior design, and if you love this look, you’re going to love this under cabinet paper towel holder. Actually, you could modify this to be a toilet paper roll holder in the bathroom as well, or a kitchen garbage bag roll holder.
There are a number of possibilities for this hanging copper roll holder, but my favorite is the paper towel holder because it’s the most visible in the kitchen. And it frees up valuable counter space, because it’s suspended below the upper kitchen cabinets. And you’re going to love this DIY project, because it’s fast and easy and pretty much foolproof.
DIY Level: Beginner
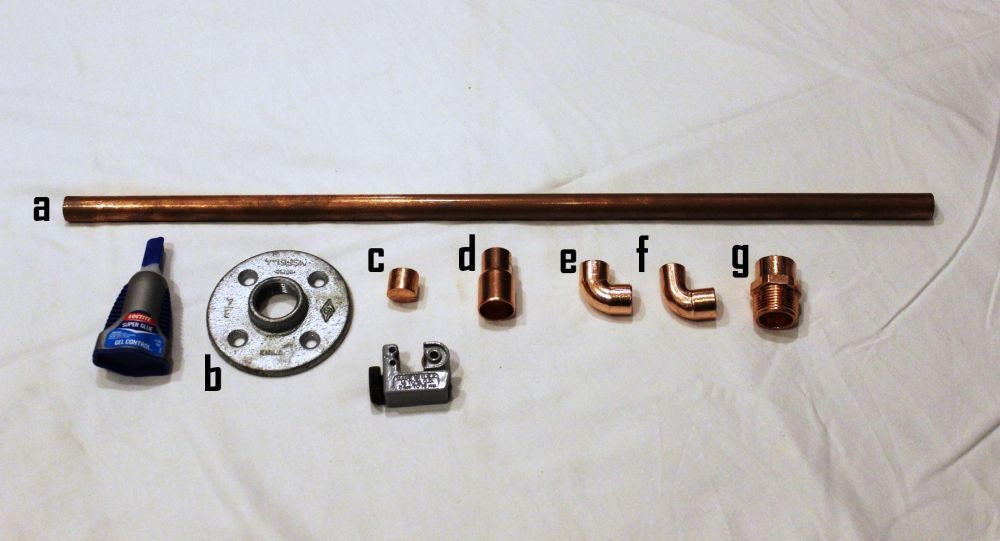
Materials you’ll need for under cabinet paper towel holder:
- ½” copper pipe (a)
- ¾” galvanized floor flange (b)
- ½” copper cap (c)
- ¾” to ½” copper reducer (d)
- ½” female to female copper elbow, 90-degree (e)
- ½” female to male copper elbow, 90-degree (f)
- ¾” thread to tube adapter (g)
- Pipe cutter
- Super glue
- ½” steel screws (not shown)
- Steel wool (not shown)
How to build the under cabinet paper towel holder:
Step 1: Measuring the copper pipes
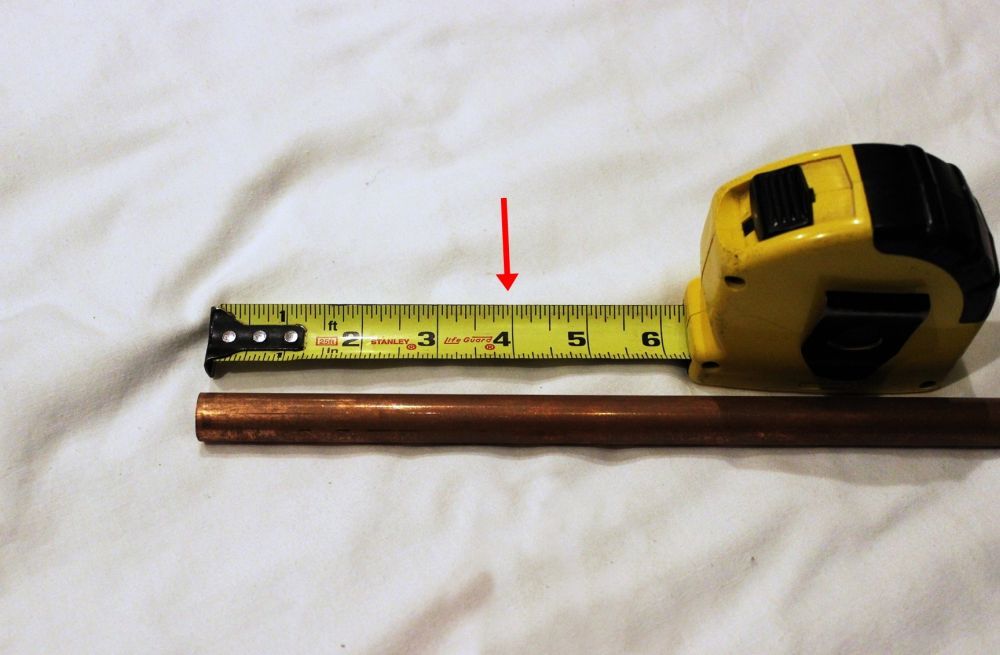
Begin by measuring your copper pipe to cut a 4” length, or whatever length you want for your paper towel roll to hang under your cabinet. The fittings will add about an inch to the overall hanging length as well.
Position your pipe cutter around the 4” mark. Tighten the knob so the blade is tight against the pipe and the pipe is held in place.
Spin the pipe cutter carefully around the pipe, tightening the knob every half turn or so to maintain your score line. Continue until the pipe is completely cut.
Next, measure your long piece of copper pipe to be about an inch (maybe slightly more) longer than a paper towel roll. Cut this longer length.
You’ve just completed the hardest part of this under cabinet paper towel holder. Congratulations.
Step 2: Steel wood process
Take a bit of steel wool.
Use the steel wool to scuff up the edges (only about 1/2″ in from the ends) of your pipes, on the outside. This helps the super glue adhere better to the pipe when it’s inserted into the fittings.
Step 3: Add the corner edge
Take your 4” piece of pipe and your female to female elbow. You can do a dry fitting, if that makes you feel better, but you’ll soon be gluing these together.
Run a generous bead of super glue on the inside of one side of the elbow.
Insert the 4” pipe into the glued elbow end. Set aside for a minute.
Next, you’ll be gluing the male side of the female to male elbow into the copper cap. Dry fit if it makes you happy.
Run a bead of glue around the inside of the copper cap, and insert the elbow.
Step 4: Attaching the elbow
Now you’ll be attaching this capped elbow to the longer pipe.
Run a bead of super glue on the inside of the open end of the elbow, and insert the long pipe.
Step 5: Inserting the other edge
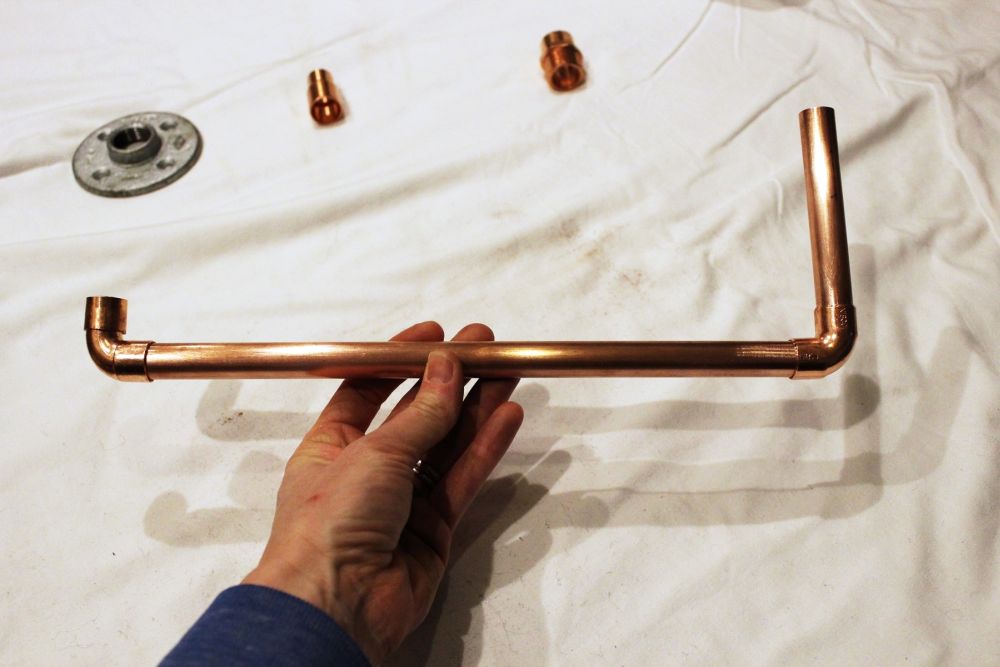
This next step will seem obvious at this point: insert the other end of the longer pipe into the open end of your female to female elbow (which is already attached to the 4” pipe). Run a bead of super glue around the inside of the elbow, and insert the longer pipe.
Quickly make sure that the cap and 4” pipe are facing exactly in the same direction (in this photo, upward). You want this alignment to be precise before the super glue sets.
There you are; the main body of your hanging copper pipe paper towel holder is complete. Now we’ll move onto the mounting component.
Step 6: Mounting the reducer
Insert the larger side of your ¾” to ½” reducer into the smooth end of the thread to tube adapter for a dry fit.
Now remove the reducer. Run a bead of super glue on the inside of the adapter, and insert the reducer.
Screw the adapter into the threads of your flange. You don’t need to glue this, because it’s threaded and will hold on its own.
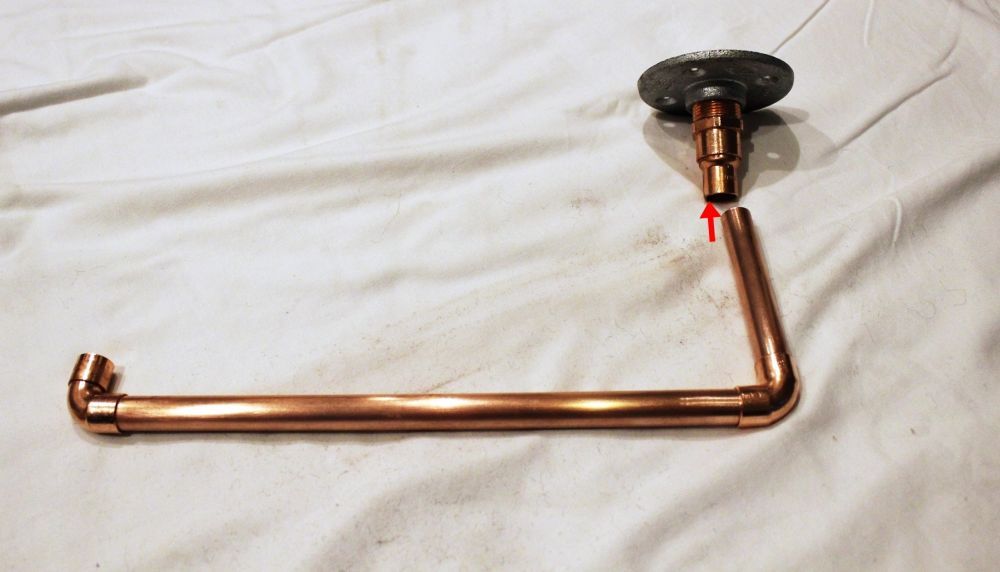
Now it’s time to attach the mounting component to the rest of the paper towel holder.
Run a bead of glue on the inside of the reducer, and insert the open end of your 4” pipe into the reducer. Let everything dry completely, ensuring that the cap still points parallel with the 4” pipe.
Step 7: Attaching under the cabinet
Position the paper towel holder in your kitchen where you want it. Make sure it’s pointing in the right direction so you can load the paper towel roll onto it easily. Also, ensure that it is parallel to your wall or backsplash.
Take one of your ½” steel screws, and attach the flange to the underside of your upper cabinet using a drill or screwdriver.
Pivot the paper towel holder if necessary to make sure it’s still parallel to the wall, then attach it completely with the remaining screws.
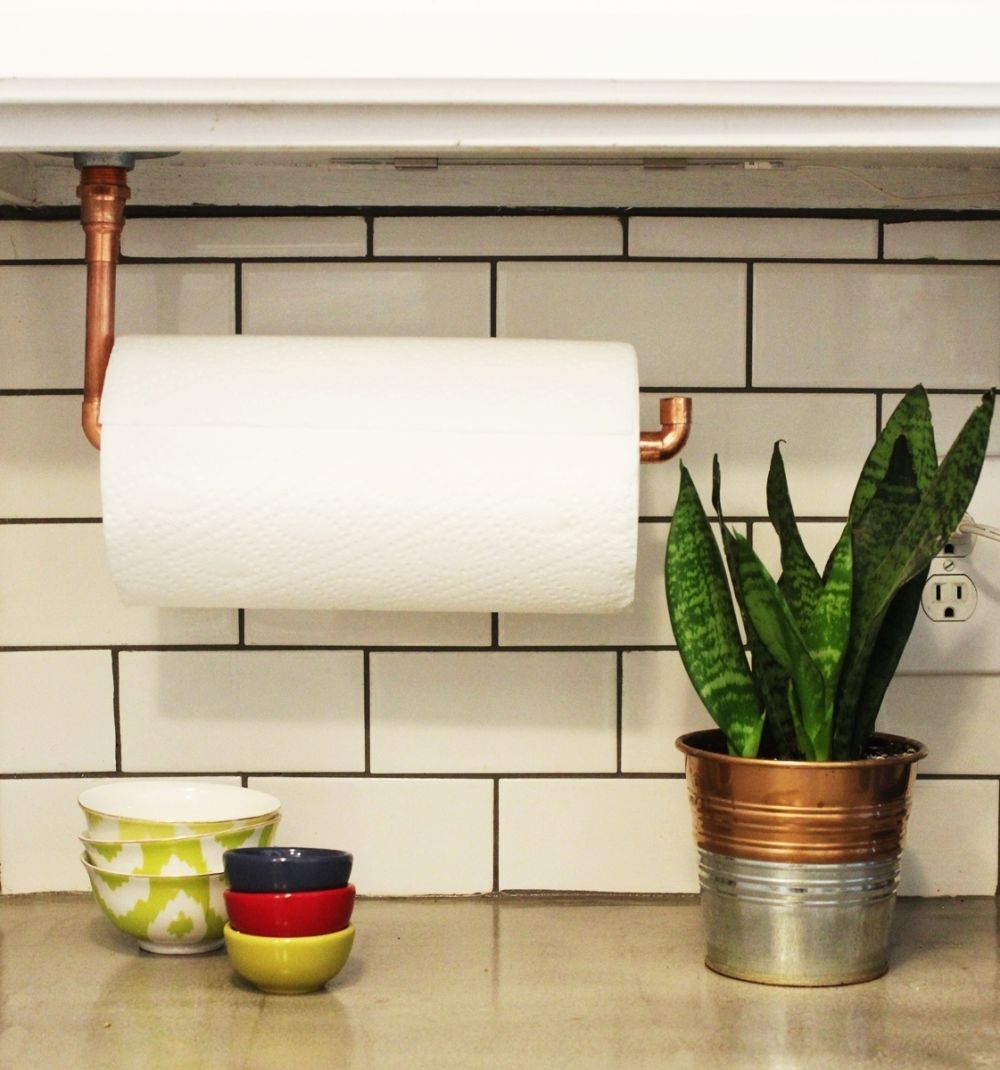
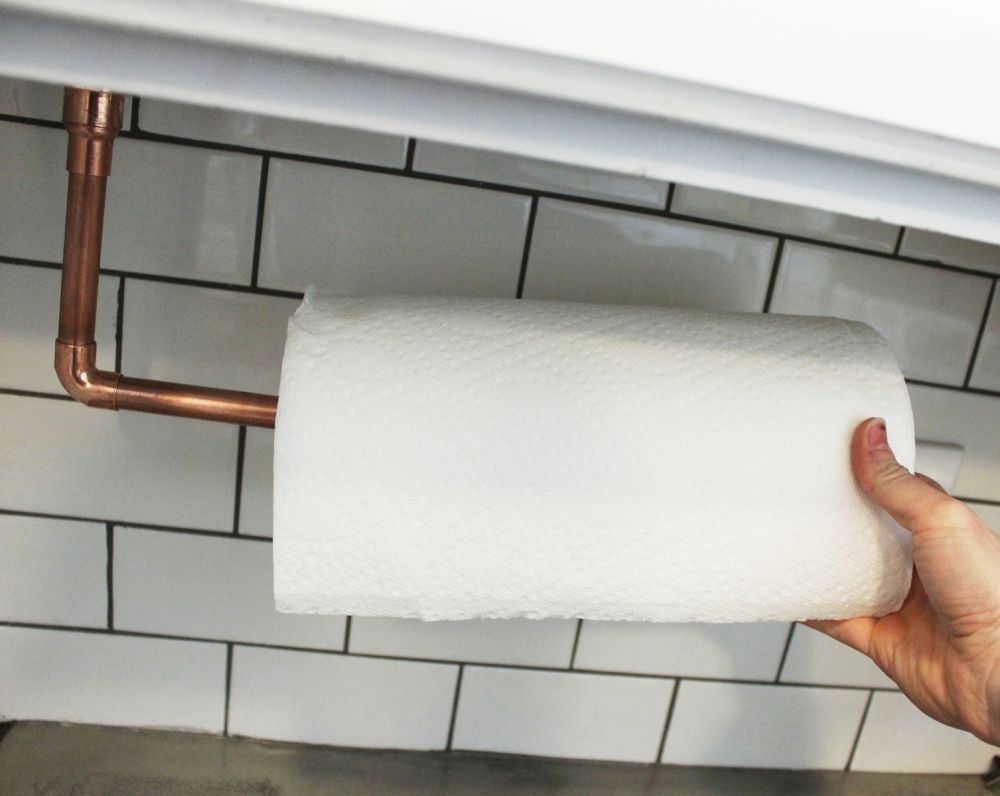
Load it up with a paper towel roll.
It works great and looks even better, don’t you think?
My kitchen is a tiny one, so any freeing up of counterspace is magical.
This copper pipe paper towel holder is a subtle, but very classy, addition to this overlooked corner.
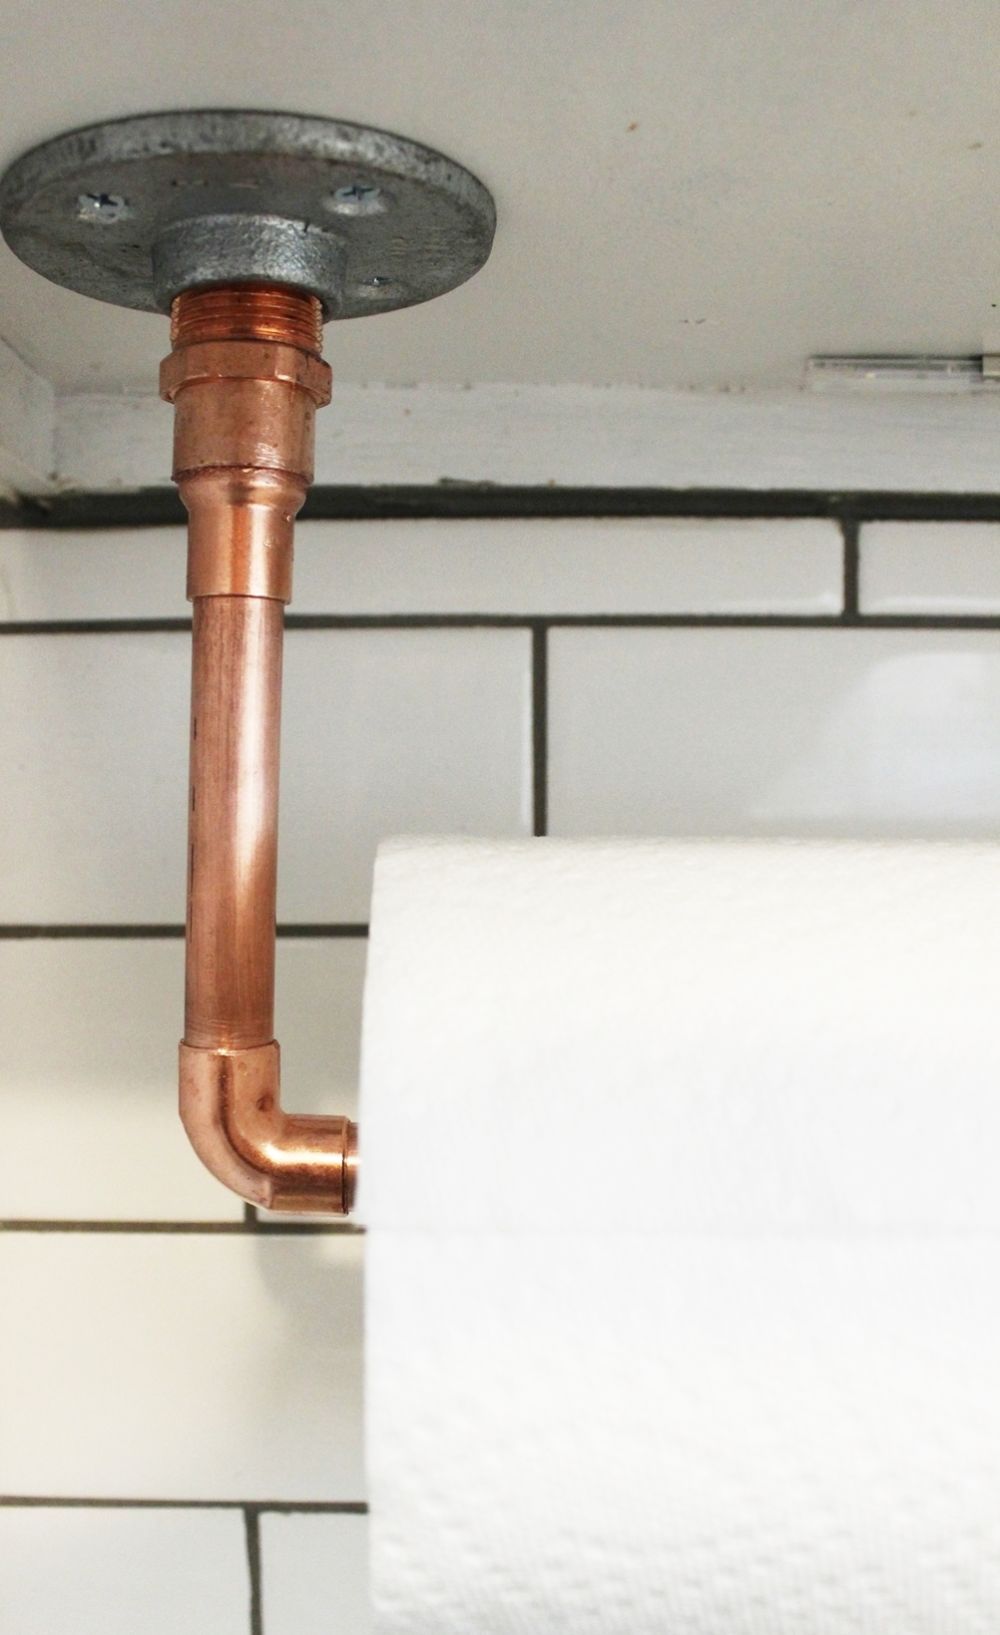
And even though you can see the flange if you crouch (as I did to take this photo), it’s really not visible with everyday use.
We hope you love your simple under cabinet paper towel holder. It’s the simple things that make such a difference. (And if you love more copper, check out this even easier copper planter pot Ikea hack tutorial.)
The post Under Cabinet Paper Towel Holder – DIY Copper Pipes appeared first on Home Decorating Trends - Homedit.









0 Commentaires