Water is necessary for human beings, and most other animals, to live. But in the wrong way, it can be a nuisance, and even a danger, to us. Keeping it controlled and out of our homes is an important priority. That’s where a moisture barrier comes in. Keeping your home dry can be the difference in it lasting ten years or a hundred. But learning how to do that isn’t something that’s going to happen passively.
What Is A Moisture Barrier?
The term moisture barrier is fairly self-explanatory. It is simply a barrier that blocks moisture. It is a common term often used in place of water barrier or vapor barrier. There are small differences between the three terms.
In general, the terms are used interchangeably. But a moisture barrier covers them all. This is because vapor barrier refers to the fact that it is meant to block water vapors. A water barrier means that it blocks liquid.
But a moisture barrier would block both as it would prevent moisture in any form. Vapor prevents gas. Water prevents liquid. But moisture would prevent all forms of water.
What Is An Air Barrier?
An air barrier is not a vapor barrier, though some people get the two terms confused. But an air barrier only prevents air from passing through walls, floors, and ceilings. It is a type of insulator for your home.
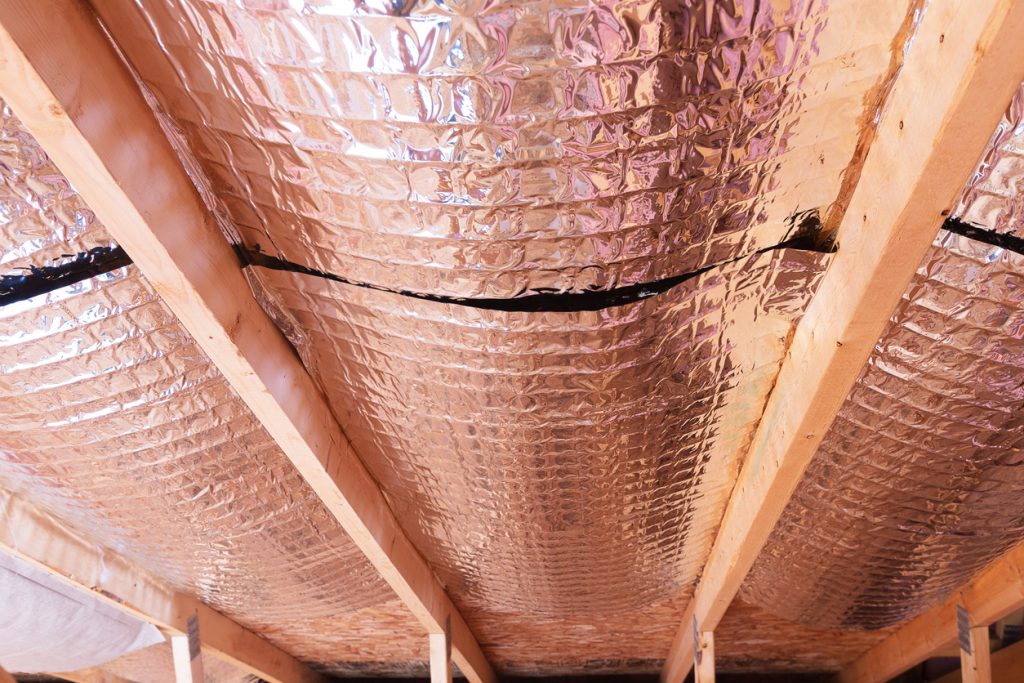
The catch is that sometimes the two functions can overlap. Because air is harder to block than moisture in many ways, and moisture is harder to block than air in other ways, there are hybrid insulators that can do both.
Why To Use A Moisture Barrier
There are many reasons to use a moisture barrier and reasons why to use one as well. Here are all of the main reasons that you should install a moisture barrier. Check them to see if it sounds like something you’d be interested in.
Prevent Termites And Pests
This is a great reason to use a moisture barrier anywhere you can. Moisture really attracts pests, especially termites. Termites are one of the most dangerous insects you can have in your home for a unique reason.
Because termites break down wood, they can result in your home collapsing. Though it takes years for this to happen on most occasions, it can happen. With enough termites, it can happen in even less time.
Climate Issues
If you live in a cold climate with lots of snow that will melt or leak into your house, or if you live a humid area, a moisture barrier is a must. It will prevent a lot of issues down the road that can lead to more than a few problems.
Some climates won’t need moisture barriers if the weather is dry and mild. But most experts recommend moisture barriers in any climate where there’s a possibility of moisture getting into the home due to the weather.
Moisture-Prone Areas
A moisture barrier or vapor barrier is highly recommended in crawlspaces and basements. These areas have a lot of natural moisture buildup so a moisture barrier is almost necessary to prevent too much of it.
In these cases, you will probably add moisture barriers on all walls, ceilings, and floors. Most new homes will have moisture barriers already built into these areas, but you can ask your realtor if you’re unsure.
Concrete Floors
One of the reasons that basements need a moisture barrier is because they have concrete floors. But they aren’t the only rooms with concrete floors. Any room with concrete floors need a moisture barrier.
Especially if you are laying the floor over them. Putting a moisture barrier between the concrete floor and the top floor is necessary to prevent leakage and moisture build-up that could warm the floors above.
Rot And Mold
If moisture gets to wood and other materials, then it’s quite possible that they will rot and mold. Moldy wood can negatively affect your health while rotting wood can collapse when it loses structural integrity.
So protect any wood or mold-susceptible materials with a moisture barrier. This is especially important in bathrooms and kitchens because you already have to worry about exterior moisture coming from the top.
Humidity Control
What causes humidity? Moisture in the air. So the best way to prevent a hot and humid house is to keep the moisture out. Not only does this make it less humid but it cuts down on the cost of running an air conditioner.
You won’t need as much air if you have less humidity. Which in turn will be energy-efficient, saving you money and returning what you put into the moisture barrier. In the end, energy-efficiency always pays you back.
Types Of Moisture Barriers
When it comes to moisture barriers, they are sorted into three classes depending on the type of material used. The higher the level of moisture barring qualities the material has. These are the three classes and what they cover.
- Class I -This class of vapor barriers is impermeable. This is the strongest vapor barrier class. This includes glass, sheet metal, polyethylene sheet, and rubber. These are the materials that are ideal for a moisture barrier.
- Class II – these materials are middle class and semi-permeable. This means that it blocks a lot of moisture but not all moisture. Class II materials include unfaced expanded or extruded polystyrene, 30-pound asphalt coated paper, plywood, and bitumen coated kraft paper.
- Class III – This class of vapor barriers is permeable. It doesn’t work as a moisture barrier and instead allows moisture to pass through. These materials include gypsum board, fiberglass insulation, board lumber, concrete block, brick, and 15-pound asphalt coated paper.
How To Install A Moisture Barrier
Now you may be wondering how to install a moisture barrier. There are two main ways to install a vapor barrier and it all depends on where you’re installing it. Whether it is under a floor or in a crawlspace.
Installing A Moisture Barrier Under Flooring
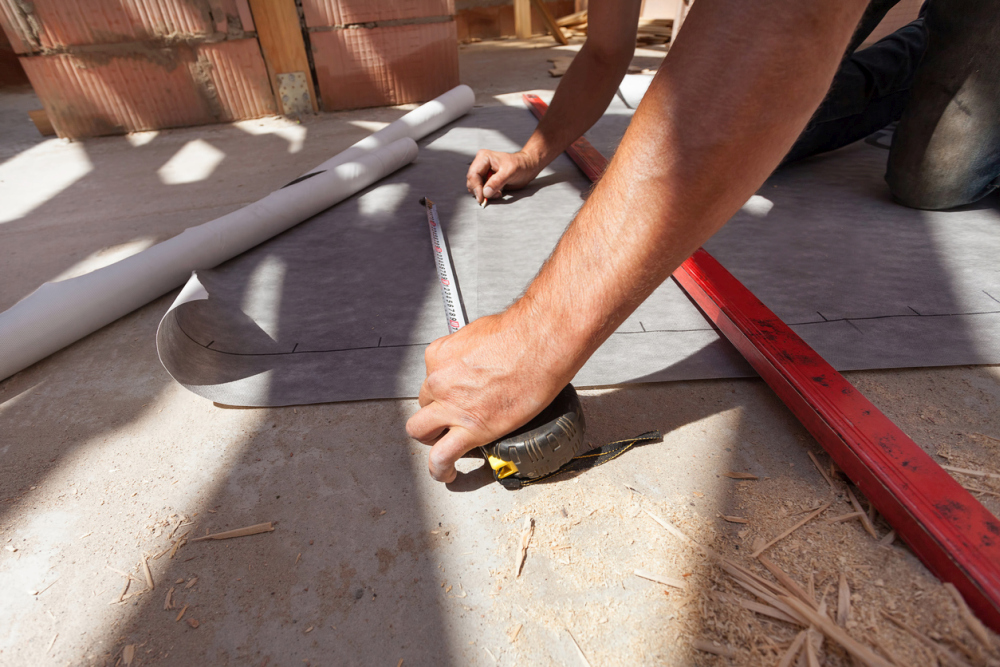
Installing a moisture barrier under your new floor may be necessary, especially if it is laid on concrete. To do so, start by rolling the moisture barrier onto the floor. Make sure you lay it out with a couple of inches extra on each side.
You should also overlap each row of the moisture barrier onto the next one so there isn’t a chance of anything seeping between them. Then, seal each seam with moisture-resistant tape to create a secure hold.
Finally, cut around the edges of the barrier either before or after laying the flooring. It’s important that each edge of the floor is covered well so you may have to wait until after you lay the floor to get a close cut.
Installing A Moisture Barrier In A Crawlspace
One of the most common places to install a moisture barrier is in a crawlspace. If you are claustrophobic, do not attempt this alone. Instead, call a professional to avoid the risk of inducing a panic attack.
Crawlspaces are hot spots for moisture in humid climates. So don’t be surprised if yours gathers a lot of moisture. But do try to do something to prevent that build-up from continuing to happen by installing a moisture barrier.
The first thing you need to do to prevent the moisture is to create a drainage system around your house so water from rain flows out instead of in. Something like a French drain is an attractive and effective method.
Then, cover the bottom of the crawlspace with a plastic moisture polyethylene vapor barrier. Just like when laying a moisture barrier over a floor, you need to seal the seams with tape to prevent the moisture from crawling through the cracks.
In this case, you can bend the moisture barrier up to cover the walls of the crawlspace and leave them. Staple or tape them down if you can. Since the space isn’t meant to be seen, they don’t need cut.
You can use fabric stakes in the dirt to keep the barrier from moving. These can be found in the garden supplies or by searching online for fabric stakes used for moisture barriers. It’s a cheap and effective way to secure the barrier.
Make sure you also create some sort of drainage system for the pipes. If the pipes leak, you want them to be able to drain outside of the house. To create a system for them to do that. You don’t want water puddling.
If the water puddles, it’s a mess for whoever has to go make repairs in that crawlspace later. It’s going to happen eventually, which is normal. So make it comfortable and dry even on the moisture barrier.
As for the walls, you can cover them with moisture-resistant insulation which can also keep the pipes from freezing in the winter. Finally, use caulk on any forgotten areas or holes that can’t be protected otherwise.
If you don’t know how to use caulk, learn how with this guide on caulk. It can make a huge difference in the way your home is protected, so learn to use it and keep an unopened container on hand.
Do I Need A Moisture Barrier?
If you still aren’t sure if you need a moisture barrier or not, consider contacting a professional. They can take a look around and let you know what you need to do. You can also have them install it for you!
When in doubt, hire a professional. Because a professional job will save you money in the end. Not to mention, you get the peace of mind knowing that someone with capable hands took care of everything and you can rest.
The post When Do You Need A Moisture Barrier? appeared first on Home Decorating Trends - Homedit.


0 Commentaires