Doing concrete crafts is a lot of fun, especially when you get to play with interesting shapes and to try something a bit more different from your regular geometric forms. With that in mind, today we’re going to check out this DIY hand-shaped planter which is actually surprisingly easy to make. Don’t worry, you don’t need to be a sculptor to make this. In fact, no experience at all is needed for this project.
Materials needed for this hand-shaped planter:
- concrete mix
- water
- 2 plastic bowls
- plastic spoon
- rubber or latex gloves
- rubber band
- big glass jar with a wide mouth
- sandpaper
How to craft the planter:
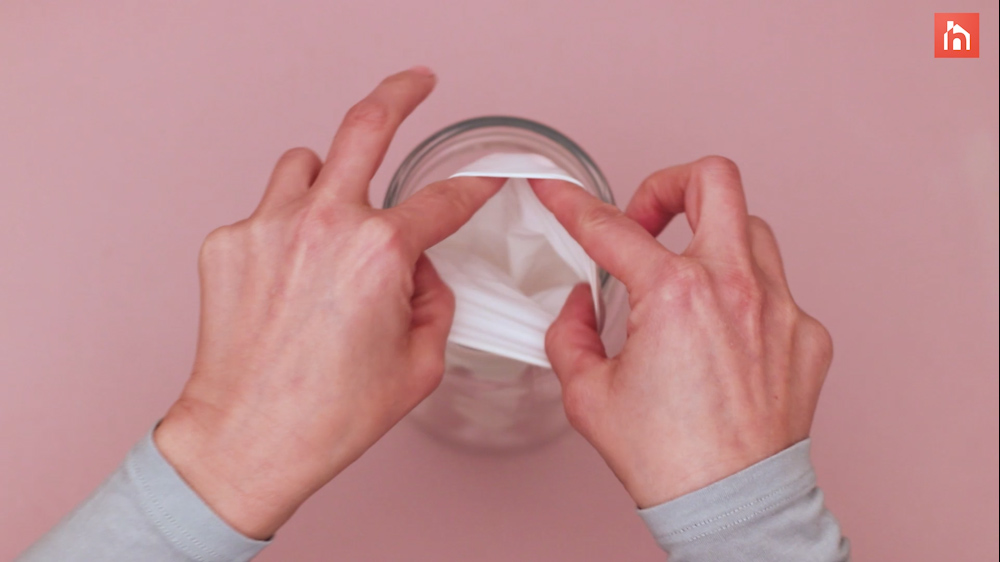
Step 1: Place the glove inside the jar and fold the cuff over
You’re going to use the glove as a sort of mold for the planter. Ideally, you’ll pick a stretchy glove-like one made of latex and also one that you don’t mind throwing out after this because you won’t be able to reuse it. Take the glove and insert it into the jar, then fold the cuff over the mouth of the jar so it’s secure and stays like that as you later fill it with concrete.
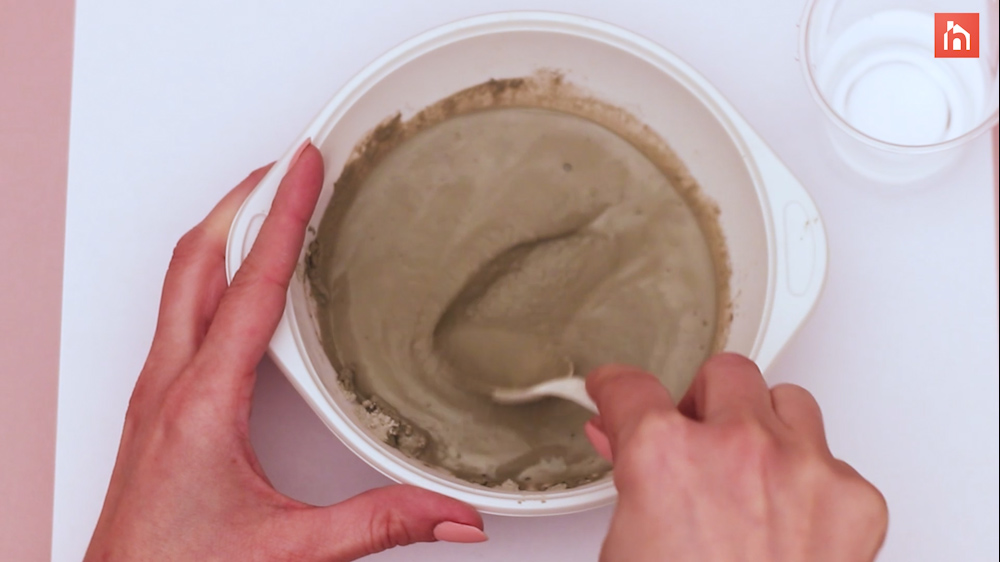
Step 2: Mix the concrete with water
Place your concrete powder in a bowl, the pour some water over it and mix with a spoon. Once again, use disposable materials because you’re not going to get them back after this. Make sure you mix the powder and the water really well until the mixture is nice and smooth, like a paste.
Step 3: Pour the concrete mixture into the glove
You should move pretty fast at this point because you don’t want the concrete mixture to harden before you’re finished. Start taking some of the mixture out with a spoon and pour it into the glove. Use as much concrete mix as you need to fill the glove but don’t feel bad for having some left over. After all, it’s more important to get the shape right than to avoid wasting a bit of materials.
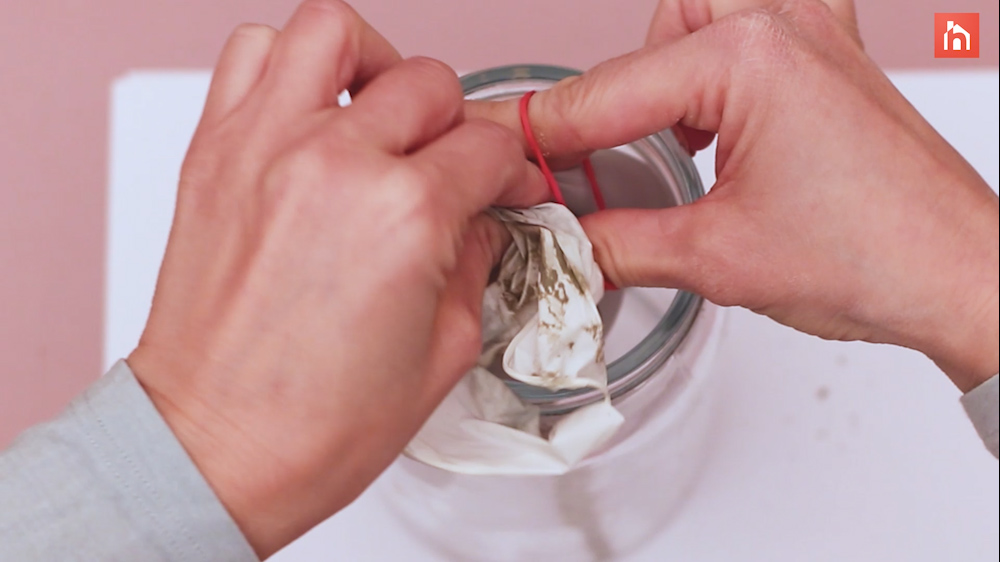
Step 4: Close the glove shut with a rubber band
When you’re done pouring the concrete into the glove, take it out of the jar and close the top shut using a rubber band. You could also tie a knot but it’s just easier this way.
Step 5: Give it the desired shape
Take your glove filled with concrete and position it in the desired shape. You could use another bowl to lift the fingers at an angle and to make it look as if the the hand is actually holding something. Also try to flatten the palm so it’s level and so you can later place a small pot or bowl on it.
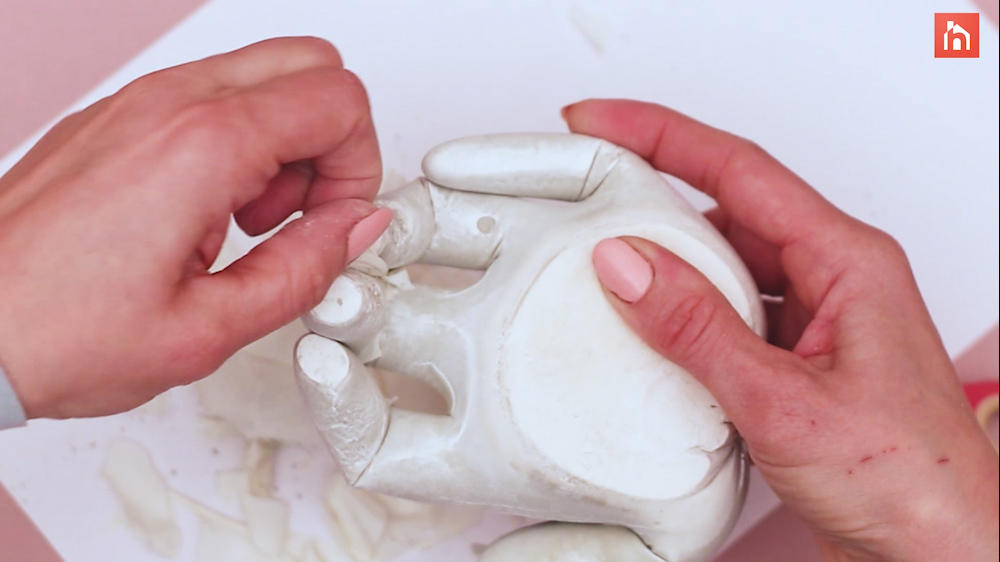
Step 6: Peel off the glove
Wait for the concrete to dry and to harden, then peel off the glove. You might need to use scissors for this part. It will be a bit tedious to get all the little bits out, especially from the fingers and the creases. Make sure you remove all of it.
Step 7: Add the finishing touches, step back and admire your creation
Once the glove has been removed, you can take a closer look at your concrete hand sculpture and add any finishing touches to it. For example, you can use some light sandpaper to remove a few imperfections or to soften some of the lines. After that, take a step back and admire your wonderful new creation. You’re ready to use this as a planter or just as a plain sculpture. It could also make a nice book end. Another thing you can do is paint the hand once it’s all done.
The post DIY Concrete Plant Stand Shaped Like A Hand appeared first on Home Decorating Trends - Homedit.


0 Commentaires