It’s the little things in life that make experiences worth living and that add style and character to everything around us. Sure, you could just store a bunch of pencils in a cup but that wouldn’t really say a lot about your creativity and your style. An original colored pencil organizer like this one on the other hand stands out for all the right reasons. Let’s see how it was made.
Materials needed to make this pencil organizer:
- cardboard
- ruler
- pencil
- glue stick
- tape
- scissors
- patterned paper
- rope
How to craft a cardboard pencil organizer:
Step 1: Measure and cut the cardboard into 4 pieces
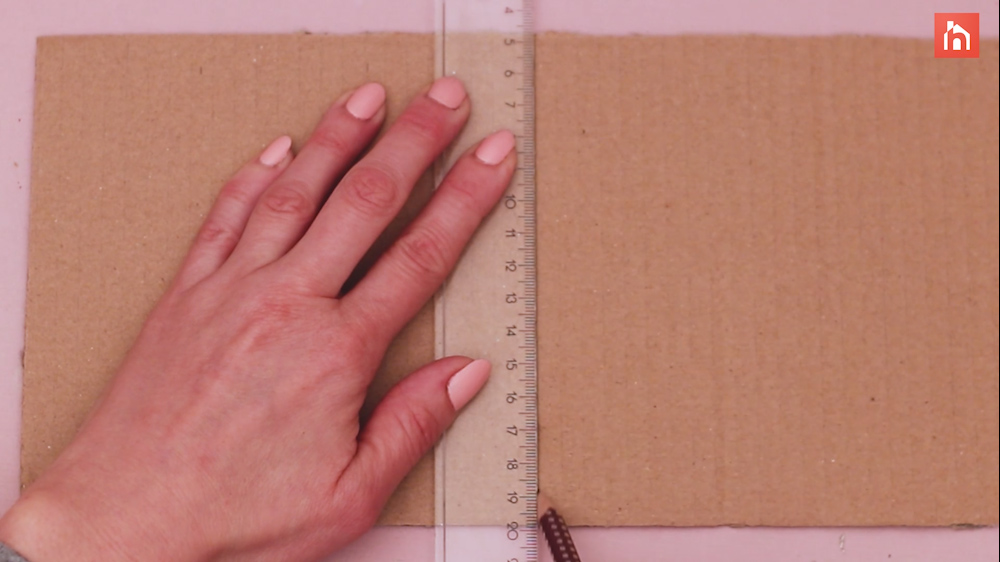
Based on what size and shape your cardboard has, go ahead and use the ruler and pencil to divide it into four equally-sized pieces. They should be more or less the same length as the pencils you’ll be storing inside this organizer and square-shaped.
When you’re done making all the markings, go ahead and cut the cardboard into four pieces that have the same dimensions and shape.
Step 2: Shape each piece of cardboard into a triangle and secure it with tape
Once again use the ruler and pencil to divide each piece of cardboard into 3 sections. Then bend the cardboard along these lines and shape it into a triangle. Use a piece of tape to secure it so it holds this shape. Do this for each of the four pieces of cardboard you’ve prepared earlier. All the triangles should look the same and should have the same shape and proportions.
Step 3: Glue the triangles together
The enxt step is to glue all these triangles together to make an even bigger one, sort of like a pyramid with four smaller chambers inside. First you make a base out of 3 triangles and then you add the forth one on top.
Step 4: Measure and cut a piece of wrapping paper
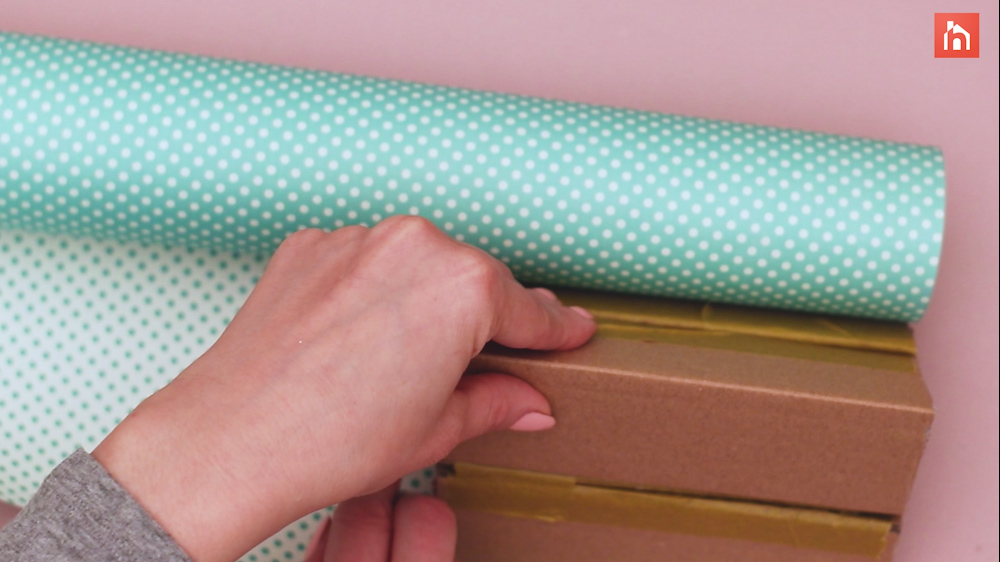
Now the main structure of your pencil organizer is all done but you still have to go ahead and decorate it. First, measure and cut a piece of wrapping paper big enough to cover the multi-triangle cardboard pyramid you just made.
Step 5: Decorate the cardboard organizer with paper
Wrap the patterned paper around the outside of the cardboard organizer and use glue to make sure it sticks to all the sides. Gently press to take out any air bubbles and to get a smooth surface on all sides.
Step 6: Cover the edges with rope
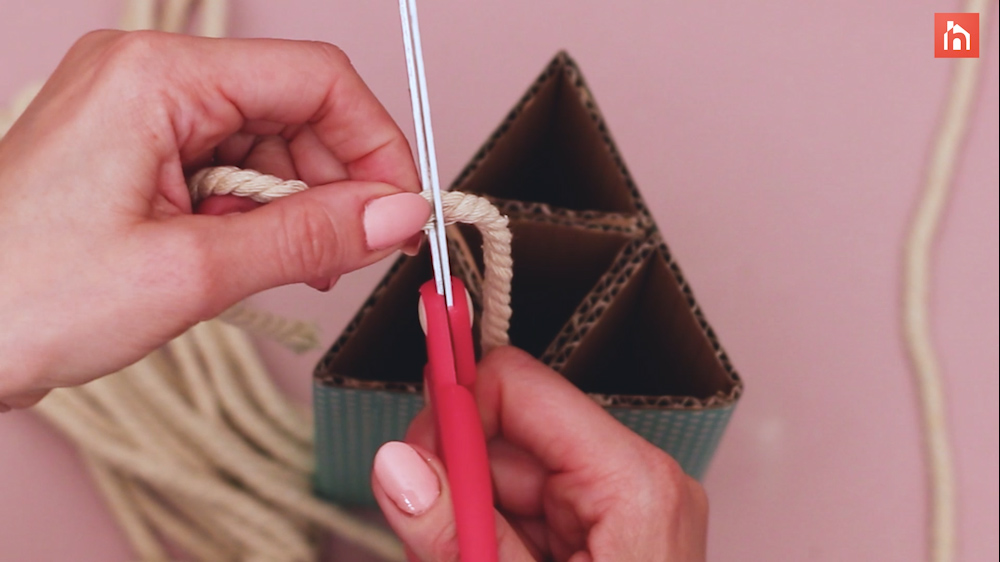
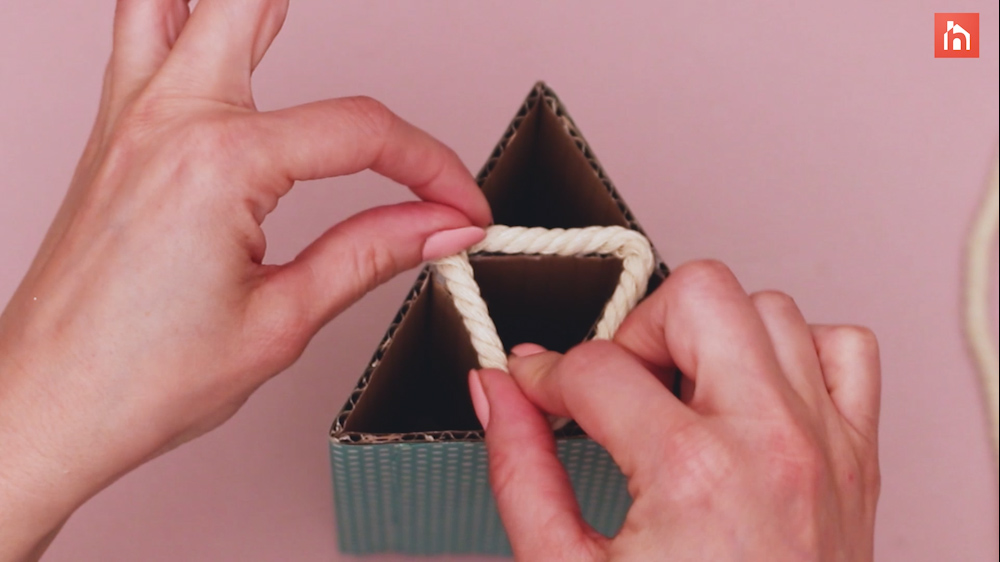
At this point the organizer looks pretty nice except for the edges which still have the cardboard showing through. You need to cover these edges with rope. Use glue to cover all the exposed edges with rope and do this for both sides of the organizer. Once this is done, the project is complete and you can go ahead and use this to organize a bunch of colored pencils, crayons or various other desk/ office supplies.
You can use the same glue stick you’ve used earlier to attach the rope to the cardboard or, if it’s not powerful enough to hold the rope in place, use a hot glue gun for this part of the project.
The post Easy DIY Colored Pencil Organizer Made Out Of Cardboard appeared first on Home Decorating Trends - Homedit.


0 Commentaires