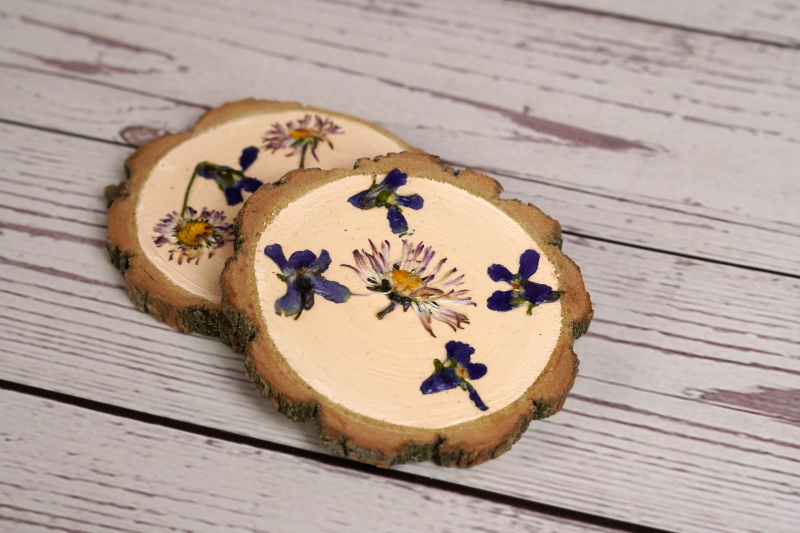
As a kid, I used to love collecting beautiful flowers and leaves and pressing them so I can keep them forever. However, I never knew what to do with the pressed flowers. After all this time a sudden wave of creativity came and I found a really nice use for dried pressed flowers: custom coasters. There’s more cool ideas to explore of course but let’s focus on this one for now.

In case you’re wondering what the best flowers for pressing are, here’s a few criteria to take into consideration. Pick flowers that lay flat. Usually the ones that don’t have a ton of petals are a good choice because they’re not very chunky. Another good idea is to choose flowers that keep their color once they dry out. Of course, you can’t really know whether they keep their color or not until you try it or do some research.
Flowers with fine petals are also really good because they hold less moisture. It also goes without saying you should first do a quick search online for how to press flowers before you take on this task.

Materials needed for these pressed flower coasters:
- wood slices
- pressed flowers
- creme acrylic paint
- decoupage glue
- paint brush

How to make these coasters:
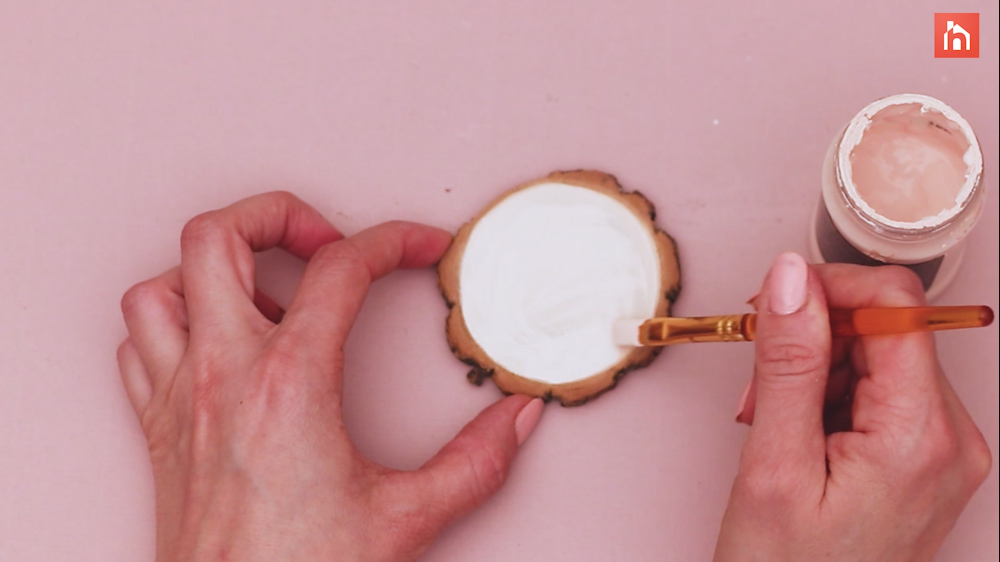
Step 1: Paint the center of the wood slice
The very first thing you need to do is paint the center of the wood slice using acrylic paint. In this case, we chose a light and neutral color because we wanted the flowers to stand out and to be the center of attention against the nice and clean background. Apply the paint with a paintbrush leaving the bark rim untouched so create a nice frame.

Step 2: Apply a coat of glue
Once the acrylic paint has dried go ahead and apply a coat of decoupage glue on top of it. This is to prep the surface of the coaster for all the beautiful pressed flowers that are to come.

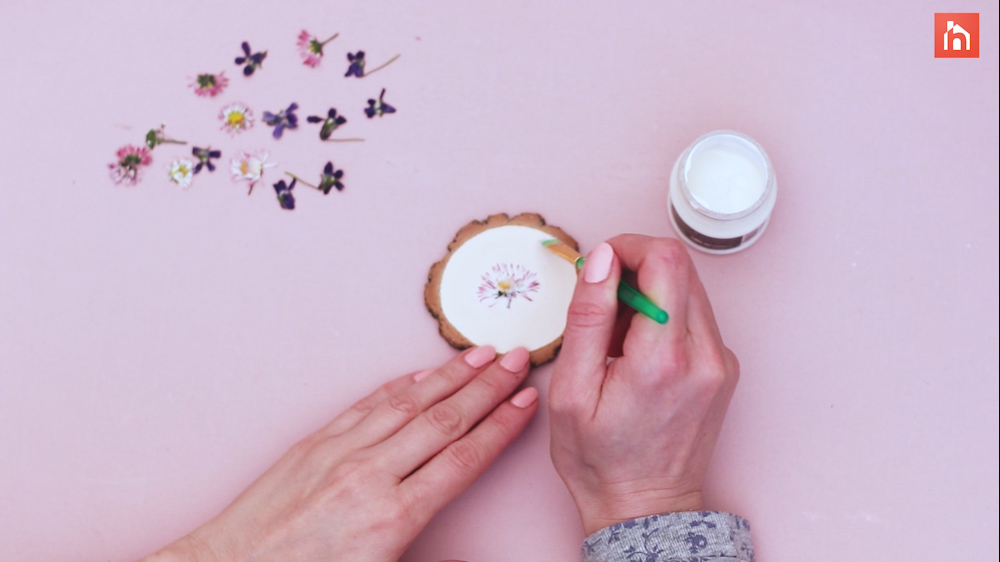
Step 3: Put a cute flower in the center
Now it’s time to actually add the pressed flowers. Pick one that you think would look good in the center of the coaster and gently put it in place. Then dip your paintbrush in more decoupage glue and cover it up with a nice layer.


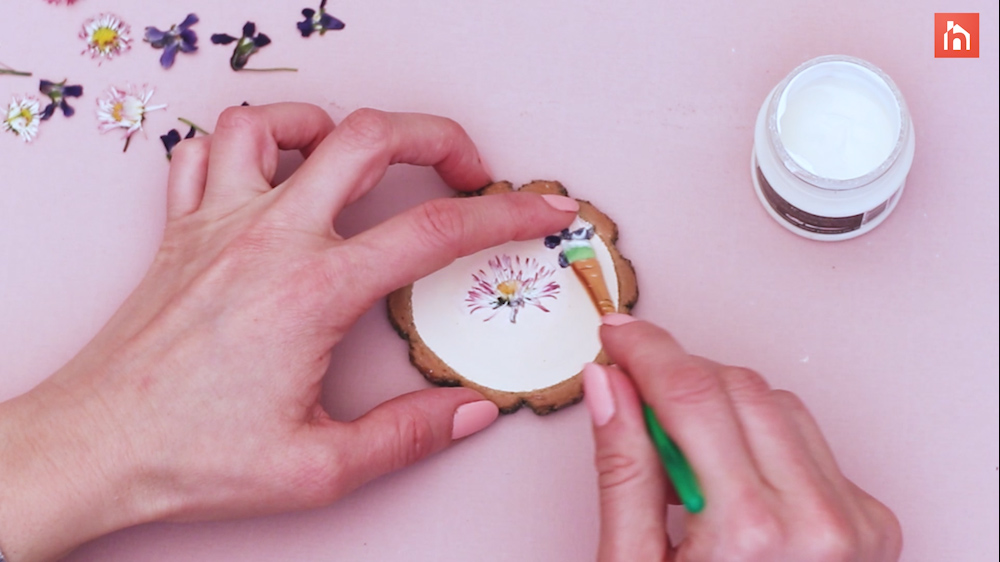
Step 4: Add 4 smaller flowers around it
Now that you have a flower set in the middle of your coaster you can go ahead and add four more flowers around it. These can be smaller and in a different color. Space them evenly or however else you want. You can also add more flowers if you want to or mix and match different types and colors.

As before, cover each little flower with a layer of decoupage glue once you’ve placed it on the coaster.

When all the flowers are in place and you’ve added a layer of glue on top to seal the coaster, that’s pretty much everything. You can repeat the same process to make more beautiful coasters if you want to. Enjoy experimenting with different designs and ideas.

The post How To Use Pressed Flowers To Make Gorgeous Wooden Coasters appeared first on Home Decorating Trends - Homedit.


0 Commentaires