Concrete kitchen countertops are popular. If you can install them without hiring a professional contractor, your DIY skills will increase. Today, homeowners are replacing granite kitchen countertops with concrete countertops.
Many homeowners feel concrete is only suitable for outdoors or underground environments. However, people have since discovered concrete can be used for kitchen countertops.
Benefits Of Concrete Kitchen Countertops
Concrete kitchen countertops offer unique benefits.
- Concrete never rots
- Durable and long-lasting
DIY Concrete Countertop Tools And Materials
You will need the following materials and tools before you begin your concrete countertop installation project.
- Ardex Feather Finish concrete underlayment (Sold in 10# bags; amount needed depends upon the square footage of your kitchen countertops. This example uses about 1.5 bags.)
- Large trowel
- Small putty knife
- Mixing bucket and stir stick
- Measuring buckets
- Sandpaper: Coarse (60- or 80-grit), Fine (220-grit), and Very Fine (800-grit; optional)
- Face mask
- Sealant
- Optional: Electric sander, wet/dry vac, paper towels, baby wipes
How To Make A Concrete Kitchen Countertop
Step 1: Clean Surface
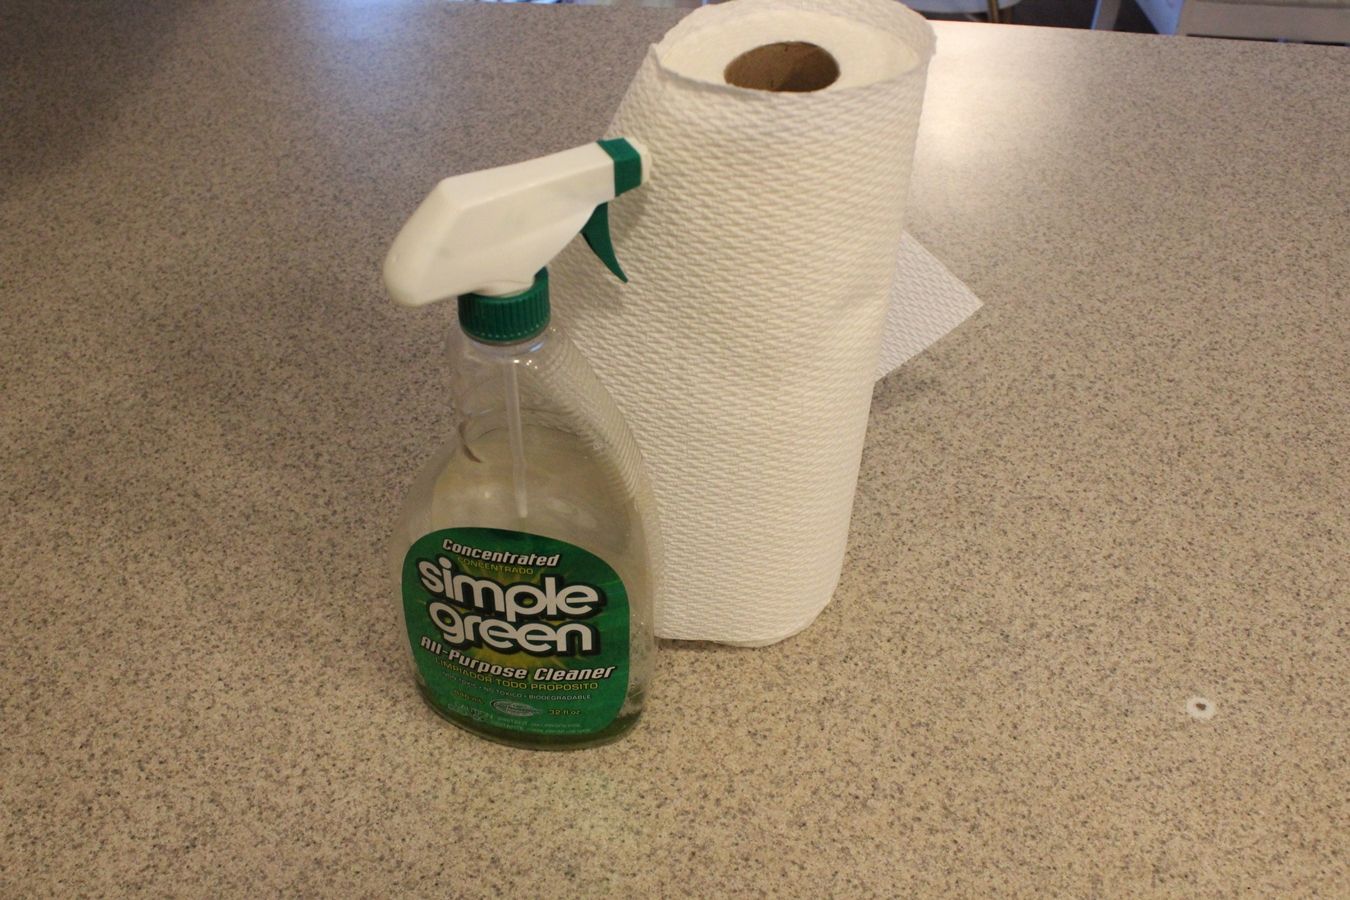
Cleaning is critical. Use a grease-free surface.
Hard Stains
If your countertops have any loose edges or bumps, it’s the time to get rid of the moveable material.
You can cover scratches and stains.
If you have visible silicone sealant, remove it with a razor blade before you begin spreading the concrete.
If you forget to do this, no worries. You can use a razor blade to remove the silicone and the first layer of concrete in one swipe after it dries and fails to stick.
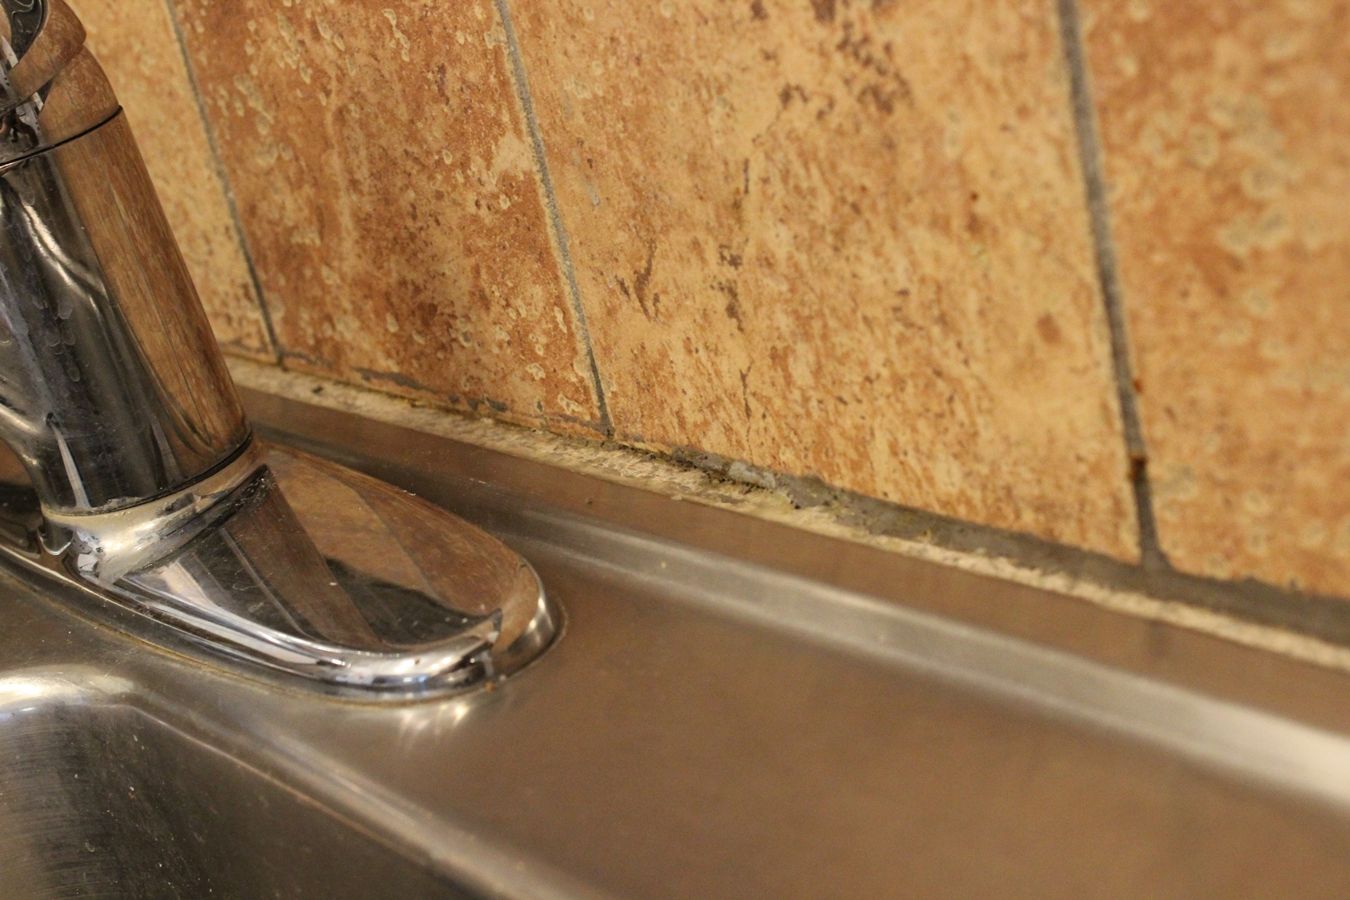
I removed loose grout behind the kitchen sink and left the space bare. The concrete filler will take care of these spaces.
Step 2: Sanding the Countertop
Sand the countertops with coarse sandpaper. Use 60- or 80-grit sandpaper to rough up your countertop. The idea is to scratch it so the concrete has something to “hold on” to. Clean and dry the countertop thoroughly after sanding before proceeding.
Step 3: Mix your Cement
Mix up a small amount of Ardex Feather Finish. The manufacturer’s instructions recommend a 2:1 powder-to-water ratio. This is a good place to start, and you’ll be able to tell if that’s the ratio that works for you.
Use the same ratio for each batch that you mix up for one layer, because even small differences in water content can alter the color of the dried concrete.
Stir the mixture. Contain the powder-dust and don’t splash it.
You want a consistency like peanut butter. The concrete will stick to the putty knife.
Step 4a: Apply to Countertop
Working in small sections at a time (maybe 1’ x 1’), spread concrete over countertop surface.
Put the trowel into the concrete and swipe it so that there is a fairly even strip of concrete all across the edge of the trowel. Begin in a corner, and drag the trowel smoothly. Pick up trowel, and move over so there is an inch or two of overlap, then spread again in the same direction.
If gaps occur, where the concrete runs out, add concrete to the gaps. Run the trowel over area again to smooth in the new addition.
While you don’t want to run your trowel over and over the same concrete mix. I found it to be a good idea to drag my trowel in the perpendicular direction after a section was covered. This helped to alleviate major trowel lines.
Continue in this way, getting a small section looking how you want it before moving on, all around your kitchen countertop surface.
Tip: It’s important to “complete” a section before moving on, because the dry time of the Ardex Feather Finish is not long.
Round Concrete Countertop Corner
Using the smaller putty knife, spread concrete on the edges of the countertop.
Tip: I found it best to strive for thick coverage on all corners and the edges, because this can be sanded smooth. It’s easier to sand smooth when you have extra concrete.
Tip: After the corner has “set” for a few minutes, I found it useful to go along with my fingers and mold the concrete smoother. The concrete will be drier, but malleable. It’s the prime condition for pinching it and getting a corner you like.
AVOID adding water in spots. One strategy I attempted but now recommend that you AVOID is adding water to my fingertips and spreading the corners smooth, if I miss the window of malleable opportunity. This is also evidence of powder-to-water ratio discrepancies and discoloration, even after it dries.
Step 4b: Clean As You Go
While concrete is still moist, run a paper towel or baby wipe along the edge to clean it up a bit. Don’t worry if you miss a spot; the concrete will scrape off fairly easily even when dry.
Step 4c: Work Around The Sink
I kept my sink intact during this entire application process (rather than remove the sink), and this caused no problems.
Use your finger instead of the trowel, if necessary, to spread the concrete behind the sink. This helps to ensure smoothness and even coverage.
Wipe off the sink edges while the concrete is still wet for easy removal.
Step 5: Let Dry
Keep in mind as you’re going that any irregularities or imperfections can be sanded out later on, so it’s best to walk away after the surface is spread. Let it dry thoroughly, at least 24 hours.
Step 6: Scrape Edges
Using your putty knife scrape the bottom of the edge smooth.
Tip: You may notice air bubbles in your concrete after it has dried. You can sand some of these away, but some will remain. To decrease the chances of these air bubbles appearing, I found it helpful to slow down my trowel spreading. Don’t slap it around. Also, keep the layers of concrete thinner, which will decrease the potential for trapped air while the concrete is wet.
Step 7: Sand The Surface
Using your coarse sandpaper (60- or 80-grit), begin sanding the surface of your dried concrete layer smooth. Pay attention to the feel of the concrete more than the color; trowel strokes might appear via color variations even when the surface is completely smooth.
Tip: Sanding this stuff is messy business. We recommend holding up the hose of a wet/dry vacuum next to your sandpaper to catch at least some of the powder.
When sanding the edges, take care to not over-sand, which will take you back down to the laminate.
Tip: Wrap your sandpaper around a sanding block for greater control and smooth sanding, and wear gloves to save your hands. Wipe down the surface after sanding before proceeding.
Step 8: Repeat steps 3-8
I recommend applying three or four total layers of concrete, sanding between each. After the final layer, replace your coarse sandpaper with fine (220-grit). When your final layer is dry, and you’ve sanded it and wiped it down, you’re ready to seal it up.
Step 9a: Gather Sealant
We recommend two sealants that serve two different purposes. 511 Impregnator Sealer serves to seal the concrete against moisture absorption and stains and goes on first.
Step 9b: Apply 511 Impregnator Sealer
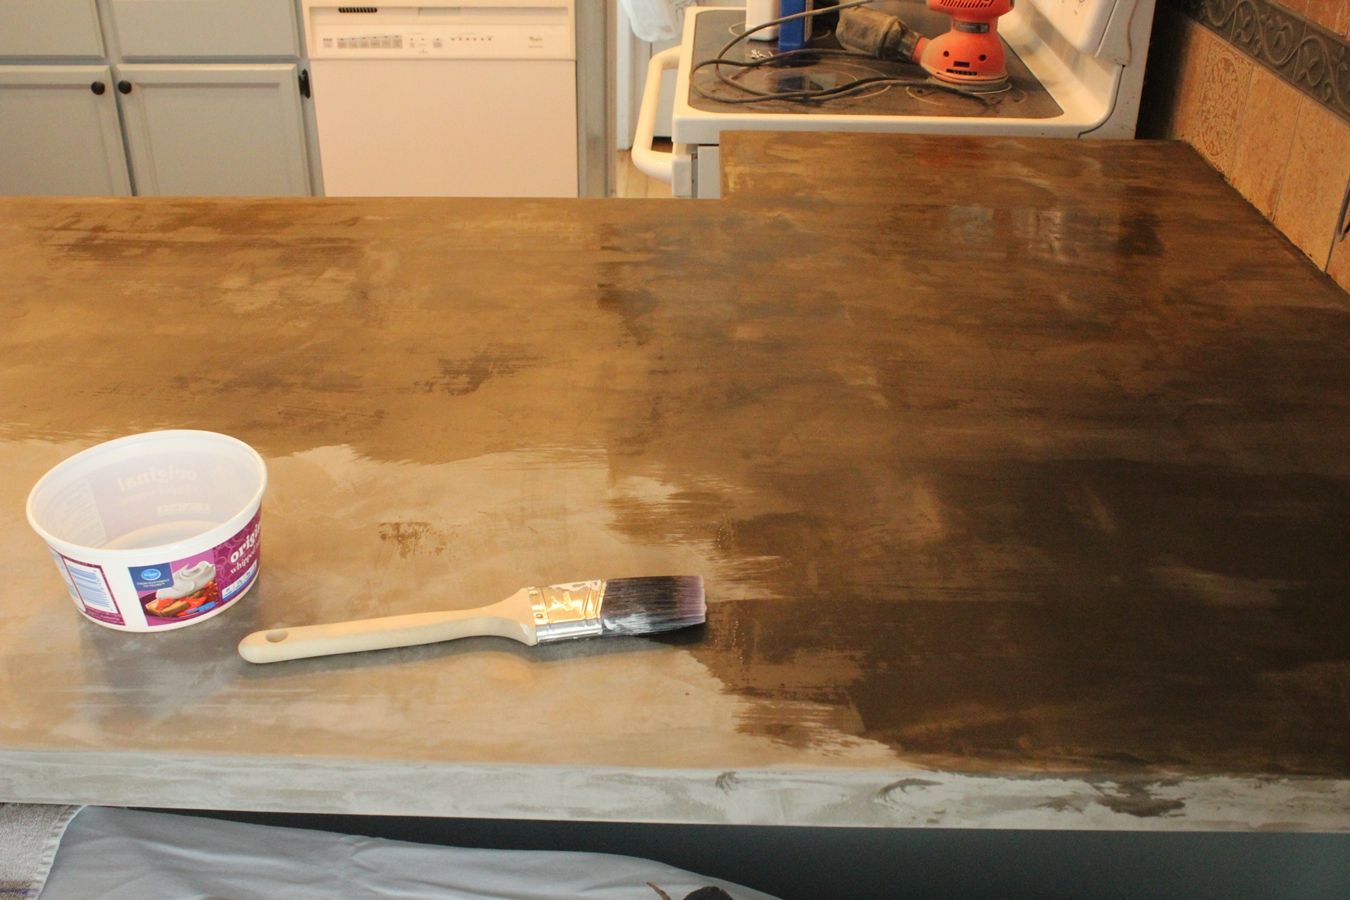
Pour a small amount of 511 Impregnator Sealer into a disposable plastic bowl and spread it on liberally with a paintbrush.
After a few minutes, wipe off excess, if there is any. I had little excess, as this sealer was absorbed and fairly thoroughly. But I wiped anyway. Don’t be alarmed if the concrete looks very dark when you apply this sealer; it will lighten as it dries.
Allow to dry for 24 hours, then a second coat of 511 Impregnator Sealer. Be sure to apply sealer to the countertop edges as well as the surface.
The dried countertop will feel smooth after two coats of sealer and will have a slight subtle sheen.
Step 9c: Apply Safecoat Acrylacq
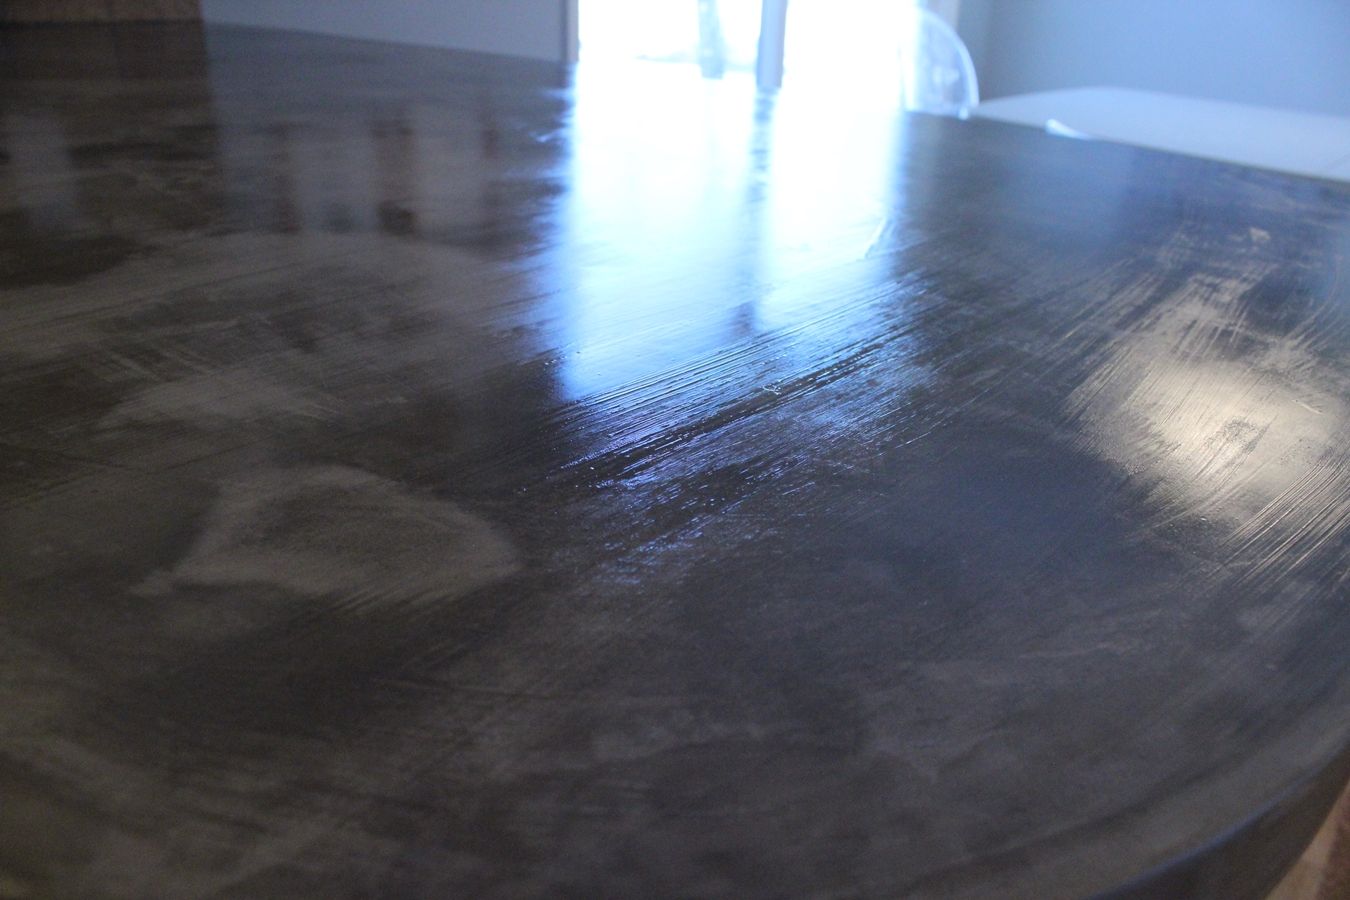
This sealer also works to seal the concrete against moisture and staining, but it also adds a polished, protective topcoat that protects the concrete against chipping or scratching. Pour a little bit directly onto the countertop, and spread and liberally with a paintbrush.
Handy Tip: I found that if you spread the Safecoat too, air bubbles will show up that don’t disperse. They’ll dry as air bumps in the sealer. Also, if you allow your brush edge to become too dry, it will leave streaks in the sealer that don’t come out without sanding.
Allow Safecoat to dry, which takes about 4-8 hours. Even when dry, this will provide a glossy finish.
Use a fine sandpaper to lightly sand between each coat of Safecoat. Sanding the final coat is optional.
Step 10: Dry And Cure
We recommend leaving the countertops alone for at least 24 hours but prefer closer to 72 hours if possible.
Doesn’t your kitchen feel fantastically updated?
Using a concrete countertop mix, you are able to recreate the look of your kitchen countertop without embarking on an expensive complete kitchen overhaul. If you’re looking for unique concrete countertop solutions at a fraction of the price, then we hope you have found it here with us.
Frequently Asked Questions (FAQ)FAQ
What Is Crazing?
Crazing is the small hairline cracks on the surface of concrete. The cracks look like the cracks you’d find on an antique stove pot. When your concrete surface dries too fast, crazing will occur.
Crazing does not affect the strength or durability of concrete. Grinding and polishing will remove most crazing.
When Did Concrete Kitchen Countertops Emerge?
Concrete countertops emerged during the early 19th century. A cement material known as magnesite was used for countertops. The poured-in-place cement was grounded and polished to a high sheen. The style was popular among avant-garde architects.
How Much Does One Cubic Foot Of Concrete Weigh?
One cubic foot of concrete made with standard materials weighs about 140 pounds.
Should A Concrete Countertop Be Sealed?
Epoxy sealer is recommended for concrete kitchen countertops. Penetrating sealers help, but they don’t prevent stains. Epoxy sealers are almost stain-proof, but there a few drawbacks.
Note: Do not set hot pots on countertops covered with epoxy sealer.
What Is Ghosting In Concrete Kitchen Countertops?
Some fabricators cast foam voids into the concrete to reduce the weight of thicker pieces. Voids are about as unpredictable as earthquakes. However, one thing that’s true is they weaken the concrete slabe and cause “ghosting,” which is color changes on the counter’s surface.
Wrap Up: Concrete Countertops
When working with concrete think of it as liquid stone that can be molded into any shape. Locally fabricated concrete countertops are part of the eco-residential solution for green buildings.
Concrete is durable and strong, but no countertop material is perfect. Granite and marble also stain, and stainless steel scratches easily. Formica and corian can be scratched or burned.
When installing a concrete countertop, it’s advised for you to mount the countertop to an adjacent bearing wall. You’ll also need to reinforce your kitchen cabinets under a concrete countertop by doubling up your side and back panels.
The post How To Install DIY Concrete Kitchen Countertops: Tutorial appeared first on Homedit.


0 Commentaires